Public key authentication for non-techies

Over the last couple weeks, I’ve had a number of conversations with people on our product and delivery teams about public key authentication due to conversations they’ve had to have with some of our vendors. After having to explain public key authentication to non-techies several times, I figured it might be useful to post something public in case it helps anyone else.

So what is public key authentication and how does it work?

At it’s base, public key authentication is a secure way for a user or client to connect to a service via SSH, without having to send a password across the wire. Passwords can be intercepted and so the fewer times we have to send a password across an untrusted network, the better. Before the first connection is ever established, the client generates a public/private key pair and then sends their public key to the server they wish to connect to, while keeping their private key private.

Now the math that goes into why sharing this public key in the open isn’t a problem is a bit complicated (but hardly goes beyond grade 12 math), but it’s a lot easier to understand when you compare it to a real world scenario.

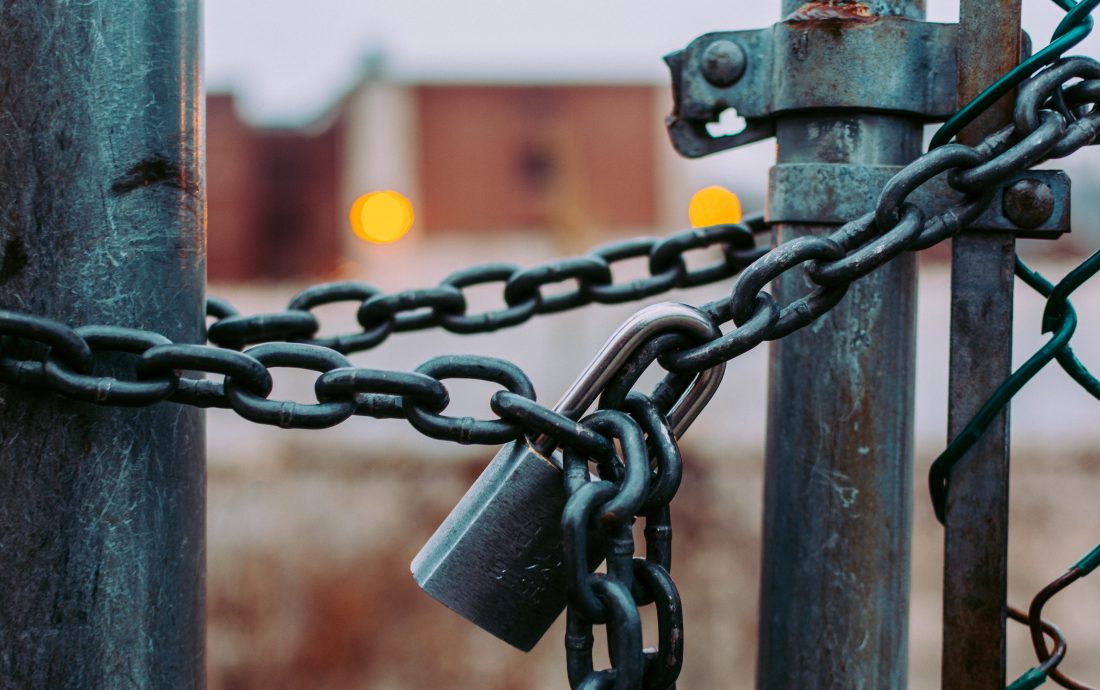
Let’s say you have a friend (vendor) and they have a shed (server) that you want to access and leave a batch of freshly baked cookies (files) for on a regular basis when they’re not home. You think about it for a while and come up with a solution: “Friend, please install a separate door (username) on your shed that only provides access to a small section of it (your home folder)”. Next, you go to the hardware store and buy a deadbolt lock (public key) that comes with a metal key (private key) that you keep on your keychain. Finally, you send this deadbolt lock to your friend to install on the door, while never showing them the key that opens the lock.

You can now come and go as you please, leaving your friend freshly baked cookies every few days, and since your key never left your possession, you can be sure that one else is sneaking inside the shed to steal the cookies. Additionally, your friend never needs to see the key because they have access to the whole shed, and you can be certain that no one else will ever be able to open up the lock because they don’t have your key.

This is public key authentication in a nutshell.

One added benefit that I haven’t really touched on here is that public key authentication – when properly created and protected – is the securest way to offer access to a system. Due to the math involved, it would take an adversary many times longer than the entire universe’s existence (that is not an exaggeration) to break your private key. Basically you can assume that if you do it right, it’s going to be secure.

I hope this made public key authentication a little less confusing and daunting for the non-techies who read this site, but if not, Khan Academy has a great video that goes into more depth using paint and color mixing. And if that still doesn’t answer your question, please leave a comment and I’d be happy to go into more detail.

Store a private key in Azure Key Vault for use in a Logic App

Today, I found myself in need of an automated SFTP connection that would reach out to one of our partners, download a file, and then dump it in to a Data Lake for further processing. This meant that I would need to store a private in Azure Key Vault for use in a Logic App. While this was mainly a straightforward process, there was a small hiccup that we encountered and wanted to pass along.

First, we went ahead and generated a public/private key pair using:

ssh-keygen -t rsa -b 4096

where rsa is the algorithm and 4096 is the length of the key in bits. We avoided the ec25519 and ecdsa algorithms as our partner does not support elliptic-curve cryptography. As this command was run on a Mac laptop which already has it’s own ~/.ssh/id_rsa[.pub] key pair, we chose a new filename and location /tmp/sftp to temporarily store this new pair.

The problem arose when we tried to insert the private key data into Key Vault as a secret: the Azure portal does not support multi-line secret entry, resulting in a non-standard and ultimately broken key entry.

The solution was to use the Azure CLI to upload the contents of the private key by doing:

az keyvault secret set --vault-name sftp-keyvault -n private-key -f '/tmp/sftp'

This uploaded the file correctly to the secret titled private-key, which means that we can now add a Key Vault action in our Logic App to pull the secret, without having to leave the key in plain view, and then use it as the data source for the private key field in SFTP - Copy File action.

As an aside, we also created a new secret called public-key and uploaded a copy of sftp.pub just so that 6 months from now if we need to recall a copy of it to send to another partner, it’s there for us to grab.

How to import a publicly-issued certificate into Azure Key Vault

Today, after spending several hours swearing and researching how to import a publicly-issued certificate into Azure Key Vault, I thought I’d share the entire process of how we did it from start to finish so that you can save yourself a bunch of time and get back to working on fun stuff, like spamming your co-workers with Cat Facts. We learned a bunch about the different encoding formats of certificates and some of their restrictions, both within Azure Key Vault as well as with the certificate types themselves. Let’s get started!

Initially, we created an elliptic curve-derived (EC) private key (using elliptic curve prime256v1), and a CSR by doing:

openssl ecparam -out privatekey.key -name prime256v1 -genkey
openssl req -new -key privatekey.key -out request.csr -sha256

making sure to not include an email address or password. I am not actually clear on what the technical reasoning behind this is, but I saw it noted on several sites.

We submitted the CSR to our certificate authority (CA) and shortly thereafter got back a signed PEM file.

We next needed to create a single PFX/PKCS12-formatted, password-protected certificate, so we grabbed our signed certificate (ServerCertificate.crt) and our CA’s intermediate certificate chain (Chain.crt) and then did:

openssl pkcs12 -export -inkey privatekey.key -in ServerCertificate.crt -certfile Chain.crt -out Certificate.pfx

But when we went to import it into the Key Vault with the correct password, it threw a general “We don’t like this certificate” error. The first thing we did was check out the provided link and saw that we could import PEM-formatted certificates directly. I didn’t remember this being the case in the past, so maybe this is a new feature?

No problem. We concatenated the certificate and key files into a single, large text file (echo ServerCertificate.crt >> concat.crt ; echo privatekey.key >> concat.crt) which would create a file called concat.crt which itself would consist of the

-----------BEGIN CERTIFICATE-----------
-----------END CERTIFICATE-----------

section from the ServerCertificate.crt file as well as the

-----BEGIN EC PARAMETERS-----
-----END EC PARAMETERS-----

and

-----BEGIN EC PRIVATE KEY-----
-----END EC PRIVATE KEY-----

sections from the privatekey.key file.

We went to upload concat.crt to the Key Vault and again were given the same error as before however after re-reading the document, we were disappointed when we saw this quote:

We currently don’t support EC keys in PEM format.

Section: Formats of Import we support

It surprises me that Microsoft does not support elliptic curve-based keys in PEM format. I am not aware of any technical limitation on the part of the certificate so this seems very much like a Microsoft-specfic thing, however if anyone is able to provide insight into this, I’d love to hear it.

OK, we’ll generate an 2048-bit RSA-derived key and CSR, and then try again.

openssl genrsa -des3 -out rsaprivate.key 2048
openssl req -new -key rsaprivate.key -out RSA.csr

We uploaded the CSR to the CA as a re-key request, and waited.

When the certificate was finally issued (as cert.pem), we could now take the final steps to prepare it for upload to the Key Vault. We concatenated the key and certificate together (echo rsaprivate.key >> rsacert.crt ; echo cert.pem >> rsacert.crt) and went to upload it to the Key Vault.

And yet again, it failed. After a bunch of researching on security blogs and StackOverflow, it turns out that the default output format of the private key is PKCS1, and Key Vault expects it to be in PKCS8 format. So now time to convert it.

openssl pkcs8 -topk8 -inform PEM -outform PEM -nocrypt -in rsaprivate.key -out rsaprivate8.key

Finally, we re-concatenated the rsaprivate8.key and cert.pem files into a single rsacert8.crt file (echo rsaprivate8.key >> rsacert8.crt ; echo cert.pem >> rsacert8.crt) which we could import into Key Vault.

It worked!

We now have our SSL certificate in our HSM-backed Azure Key Vault that we can apply to our various web properties without having to store the actual certificate files anywhere, which makes our auditors very happy.

Posts navigation